Using Canva to Create Print-Ready Files
At AV Graphics, we understand that great outcomes in print begin with well-prepared files. If you're designing your posters, postcards, flyers or signage for your brand in Canva, it’s essential to create a press-ready PDF to make sure your art reproduces as expected.
Here is our basic “how to” prepare your files in Canva for print.
Dimensions and Bleeds
Before diving into your design, start by configuring the right document size.
Custom Dimensions: In Canva, click “Custom Size” and enter the exact dimensions required for your print project. This ensures your design fits perfectly without scaling issues.
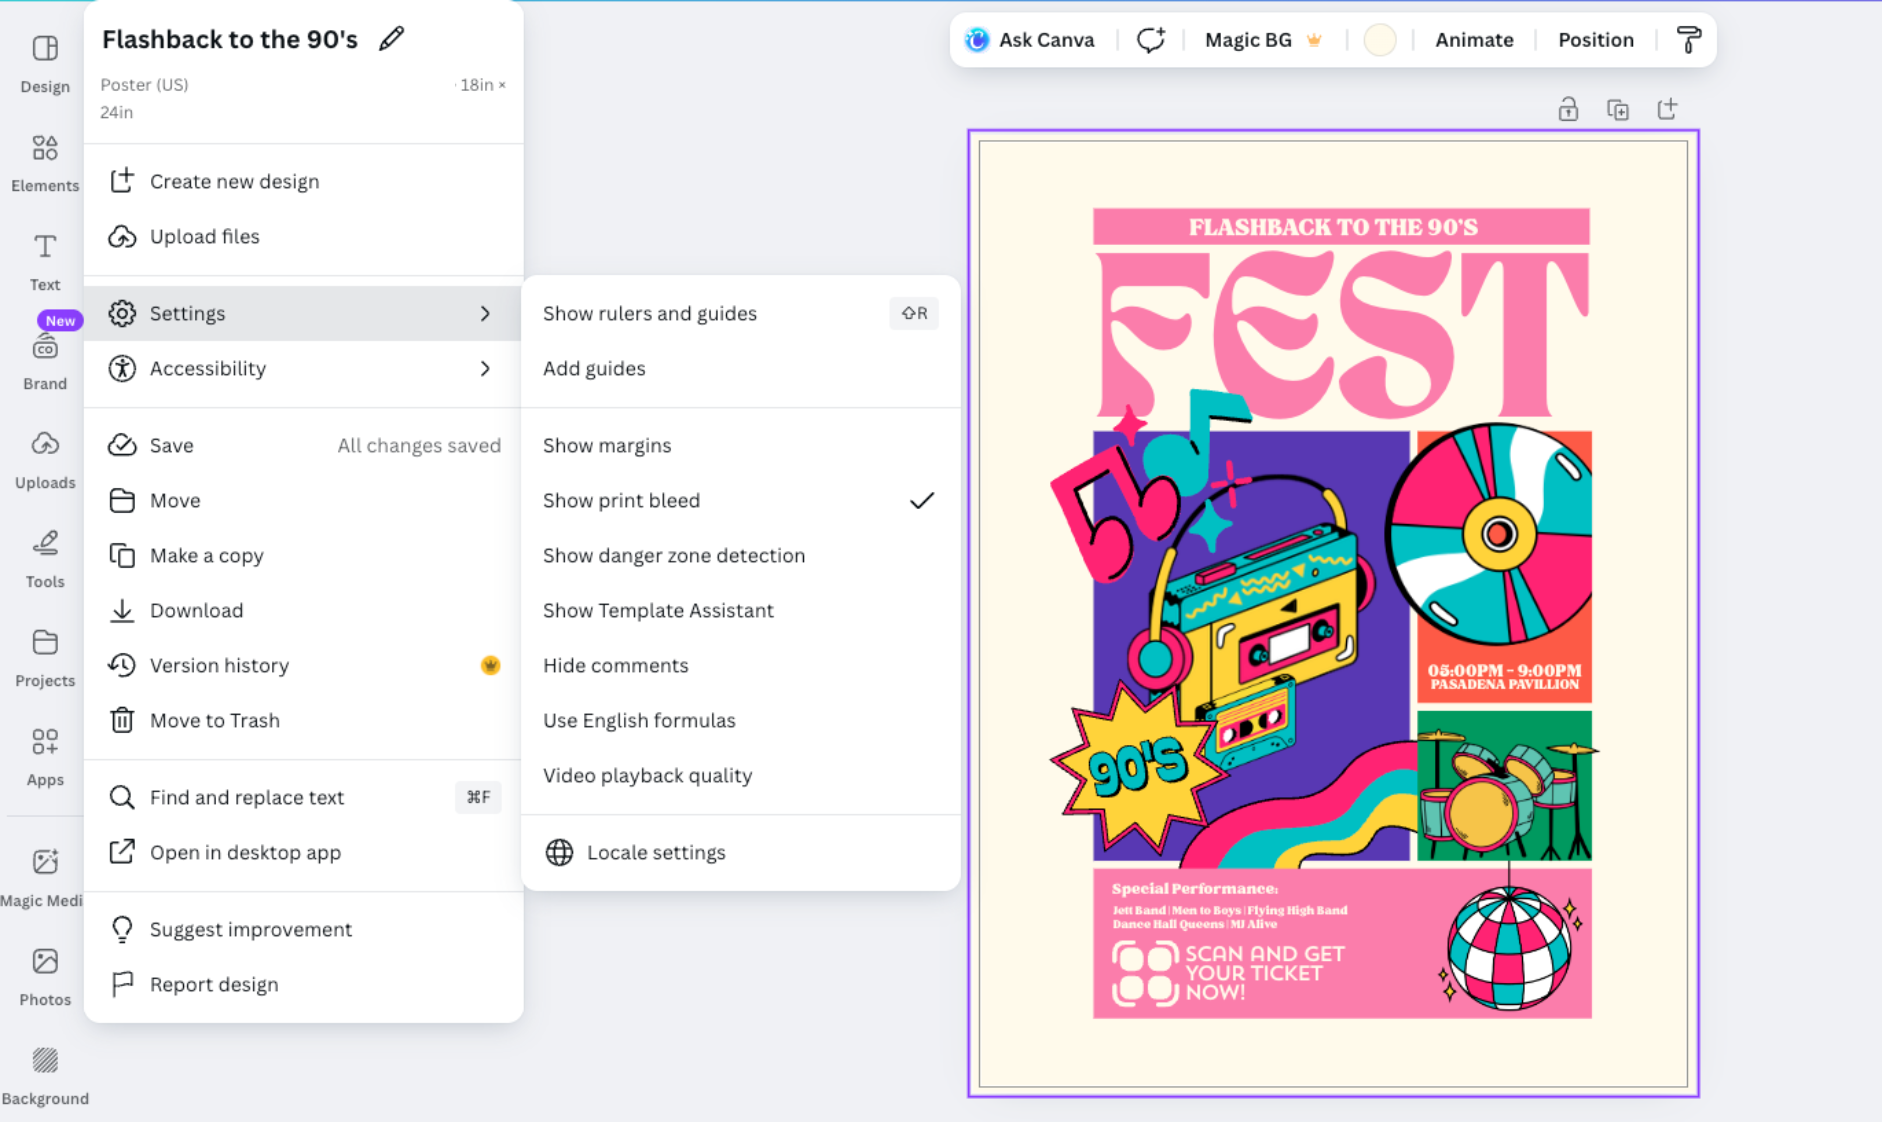
Enable Bleed: Bleed is the extra design space beyond the trim edge that allows for clean cuts without white borders. Enable this by going to File > Settings > Show Print Bleed. Design elements that should extend to the edge of your project must stretch into this bleed area.
Print-Friendly Colors
Unlike digital designs which are created in RGB (Red, Green, Blue), print reproduction uses the CMYK (Cyan, Magenta, Yellow and Black) color space. It’s important to set up your files correctly so that your final colors are represented as expected.
Stick to colors known to reproduce well in print. Limit your use of neon & overly bright colors as these often don’t translate well to CMYK.
When exporting your file, under the “Color Profile” menu be sure to choose the CMYK option to successfully convert your file. If you have any questions or concern, consult with us to help manage the color conversion.
Fonts and Image Quality
Clean, crisp text and images are critical for professional results. Use fonts that are available within Canva or upload your own. Keep in mind whether people are seeing this close or at a distance when choosing your text. We suggest you avoid very thin or highly decorative fonts that might not reproduce well.
All your photo images and graphics should be high resolution (at least 300 DPI) to present crisp and clear. Low-resolution images can appear pixelated or blurry!

Export Your Print-Ready PDF
Once your design is finalized there are a few final steps to export and send along to AV Graphics:
Click “Share” in the upper right corner and select “download.”
Locate the “file type” and choose “PDF Print” to guarantee high-quality output.
Select below the options for “crop marks and bleeds” and “flatten pdf” . Next choose the color profile “CMYK”.
Then hit Download.
Don’t SEND Until You Review the Final PDF
Carefully review your exported PDF to confirm you prepared your files right!
Confirm all the elements and content are there, including the correct fonts, images, graphics, QR codes, etc. and nothing is hidden by another art layer or was lost in the final export. Check that text is clear and easy to read and images are crisp and clear.
Verify that your design is the right size and fits within the area of the crop marks and bleeds are present.
Send along your file, paper specs, quantities to AV Graphics for production.
Need Help Preparing Your Files? AV Graphics Has You Covered
Uploading properly prepared files correctly makes the printing process smooth and efficient. Whether using Canva or another design layout program, following these basic steps lead to spot on results in print. If you need assistance in file prep or want AV Graphics to review your artwork, feel free to contact us.